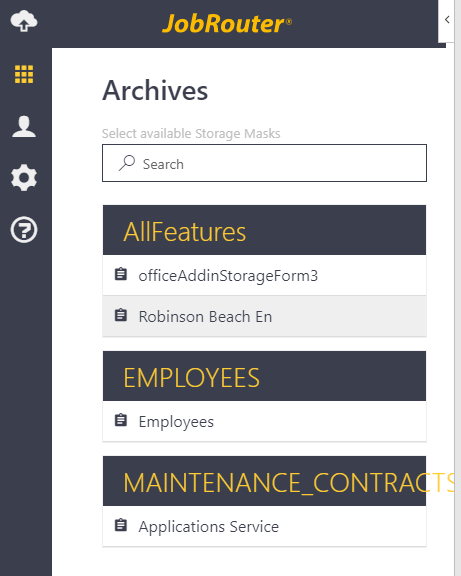
On the archive page you have access to the Office Add-in storage masks and archives. This is where indexing and keywording take place and the document is uploaded to the archive.
Please note: In order to have full access to the archive storage screens in the Office Add-in, you must be stored as a user in the archive profiles of the JobRouter archive. In addition, you must be available in the role specified in the respective Office Add-in storage masks. Please contact your administrator if you are not sure whether these conditions apply.
You can search for a specific template or word in the Search field. Only the file masks that match the search criterion are displayed.

Add-in Archive
Please note: If you are connected to a JobRouter in which no Office Add-in storage masks have been configured, you will not see the Archive tab in the Add-in.
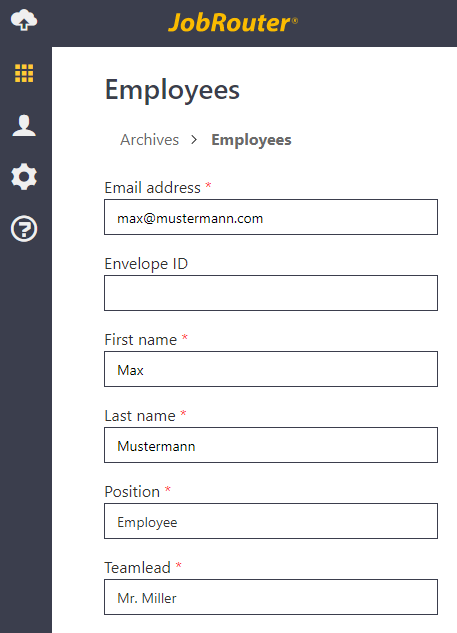
Click on an archive filing screen to enter the index data.
The appearance and input options of the index fields may vary depending on the archive configuration. There are text fields, date selection, pick lists, decimal and integer fields, as well as text areas for a lot of text and password fields.

Add-in Indexing
Enter the necessary information for indexing. All fields with a red asterisk are mandatory. Click on Upload file to save the Office document in the archive. After the upload, you will briefly see green information Your document has been successfully uploaded.
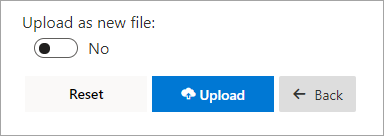
After you have uploaded the document to the archive, you can save it again as a copy. To do this, click Yes on the Upload as new file option.

Archive Copy
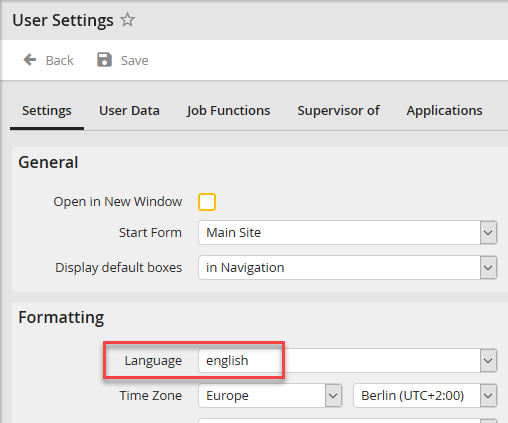
Please note: The language and view of the archives always depends on the language settings of the JobRouter user account under Account and Settings->Settings->Formatting

Language settings