The dashboard is designed to allow each user to keep an eye on what's most important to him. It contains a collection of widgets that you can select and customize. Each user selects what widgets he wants to see on his dashboard. The individual widgets can then be arranged on the dashboard and adjusted according to their size.
The dashboard can be accessed at any time via the JobRouter logo in the header. To get an overview immediately after the login it is also on the default login page.
Select widgets

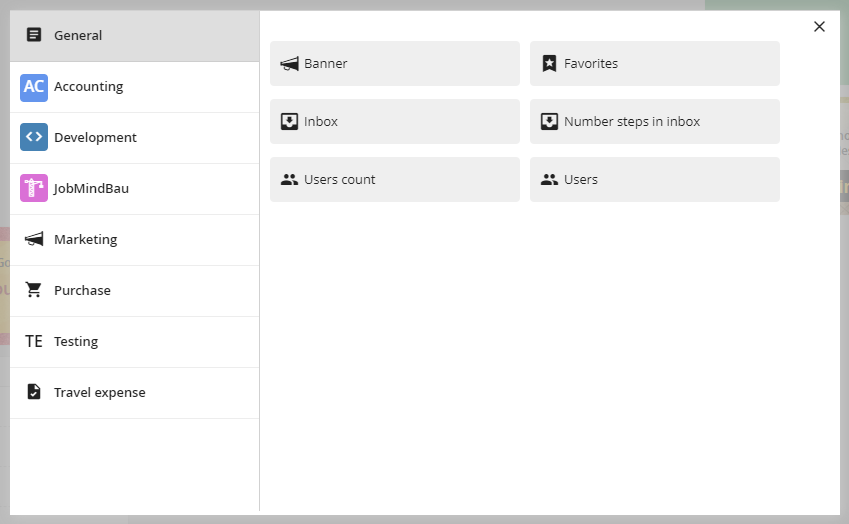
Click on New Widget to add a new widget to the dashboard. A view will display a list of all available widgets. Each widget is assigned to a category.

Pop-up of adding a widget
Please note: Some categories may only be displayed if you have the appropriate permissions.
Clicking on one of the widgets closes the view and updates your dashboard with the selected widget.
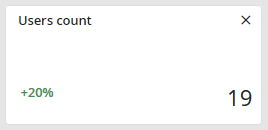
If you want to remove a widget, first move the mouse over the widget. Then a cross is displayed on the widget that you can use to remove it from the dashboard.

Example widget
Arrange widgets
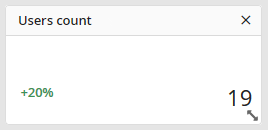
Arrange your widgets on your dashboard to your own preference by dragging the widget in the header with the mouse. In addition, you can also change the size of the widgets. First, navigate to the lower right corner of the widget until an arrow is visible, then drag the mouse to resize the element to the desired size.

Move and resize widget
Please note: Some widgets may have a defined minimum or maximum size.


Click the green button to create a new dashboard. You can then enter a name directly and confirm it with the Enter key.
The desired order of the dashboard can be easily adjusted at any time using drag & drop.
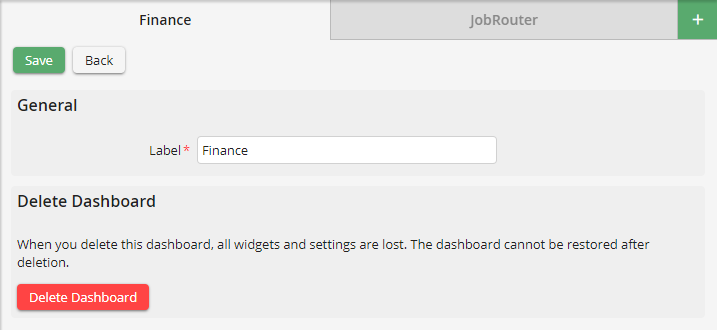
Dashboard Settings

A click on the gear wheel takes you to the dashboard settings.
Here you can assign a new name for the dashboard or delete the dashboard.

Please note: You can also rename a dashboard by double-clicking on the corresponding tab.