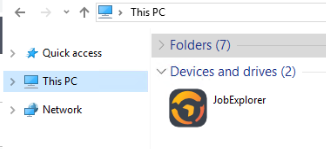
Open the Windows explorer and select the drive-view (Computer):

Drive-view in the Windows Explorer ("My Computer")
The JobExplorer integration can be seen in the Other category. Clicking it opens an overview over the archives:

Archive view in JobExplorer
Now, select the desired archive to see an overview over the first index field defined in the directory structure (in the example: Invoices):

View of the directories defined in the integration
Now, you can click through the directory hierarchy of the index fields that was defined in the integration until you arrive at the file list:

List of files
In addition to the default attributes of a file (such as name, size and type) you also see more index fields (in the example: Amount and Invoice date).
Notes
•If multiple files are stored for one revision in an archive, they will be displayed as a ZIP file by JobExplorer. As usual, those ZIP files can be processed or unpacked.
•For security reasons, moving files from the JobRouter drive is not supported. Creating shortcuts to directories or files in the JobExplorer tree is possible.
•Ist ein Dokument durch einen anderen Benutzer zur Bearbeitung gesperrt, wird dies über ein gelbes Schloss-Symbol angezeigt. Haben Sie das Dokument selbst gesperrt, wird ein grünes Schloss-Symbol dargestellt.