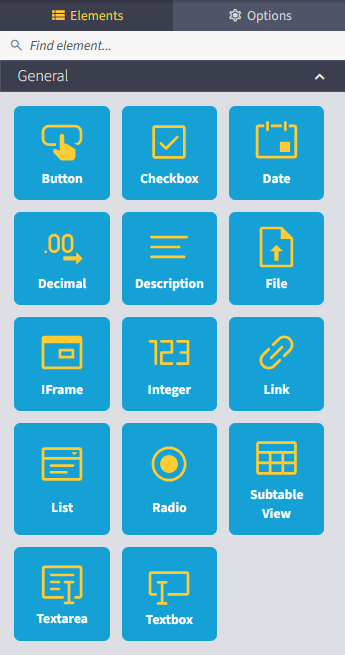
You use form elements to design the fields of your form.
The following is an example of how to create a form with the element "textbox".
You can find a list of the properties of all dialog elements in the form elements chapter.
Inserting an element
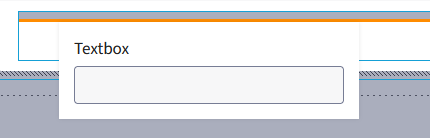
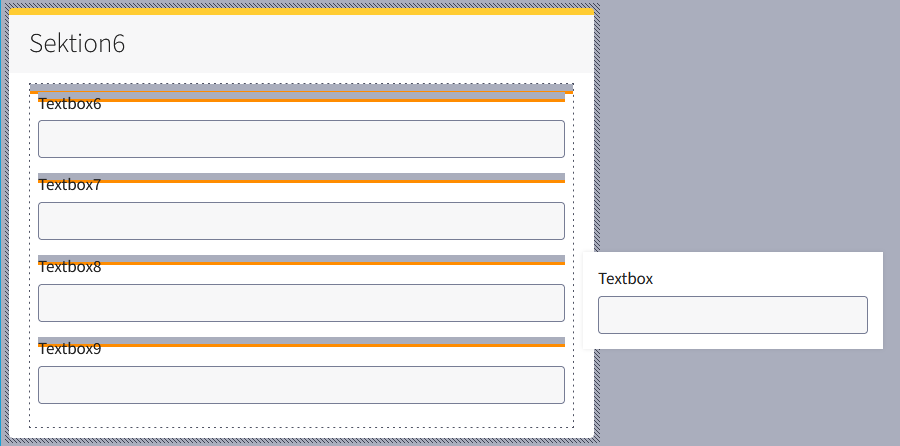
To insert a new form element, select the desired element in the Elements tab of the dialog designer toolbox with the left mouse button and drag it to the desired position on the workspace while holding down the mouse button.
Placing and moving dialog elements
An orange line shows you possible positions for your element. As soon as you release the left mouse button, the element is placed in the desired position.
Editing elements using the “Textbox” example
When a form element is clicked again in the workspace, it is selected...
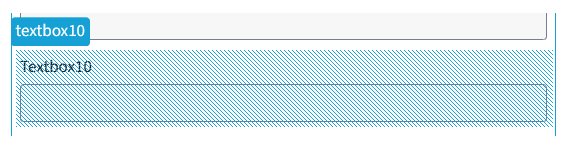
...the Options tab opens in the toolbox. Here you can configure further details, properties and events (scripts).
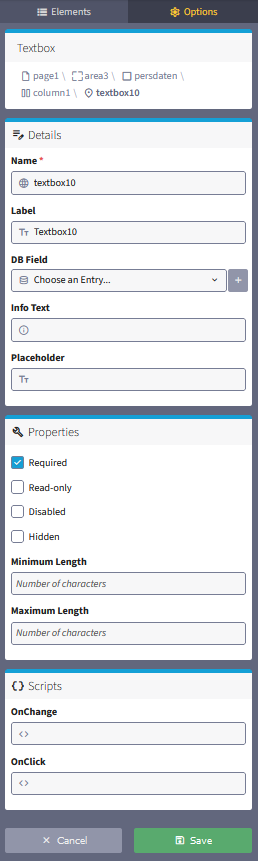
Remember to confirm each desired change with the Save button.
Please note: The details and properties to be configured may differ depending on the form element and development status.
For more information on the form elements, please refer to the manual page form elements for modern dialogs.
Configure / Link DB Fields
Some elements offer DB fields.

For elements that can be linked to a DB field, you can either:
a) select it directly from the dropdown, assuming a DB field has already been created.

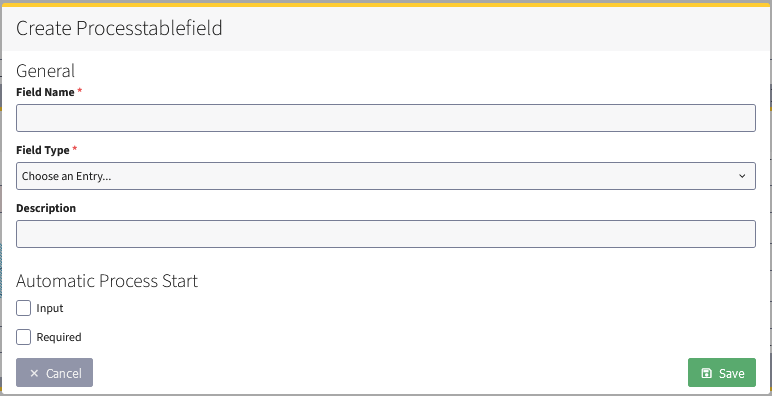
b) create a new DB field using the + button.
A new window opens in which you can enter the required data.
Editing other elements that require a link to a source (e.g. list, radio, sub-table view)
For individual elements, such as subtable view, list and radio, you are prompted to link them to a source. This applies to
List element (dropdown):
This element is linked to a list. Please create this in advance. Navigate to Resources > List.
The list can then be selected in the modern dialogs under Options > Details > List.
See also chapter “Create and edit a list”.
Radio element:
This element is linked to a list. Please create this in advance. Navigate to Resources > List.
The list can then be selected in the modern dialogs under Options > Details > List.
See also chapter “Create and edit a list”.
Element Subtable View
This element is linked to a Subtable View.
Please create this in advance. Navigate to Workflow > Subtable Views.
The Subtable View can be selected in the modern forms under Options > Details > Subtable View.
See also chapters “Create subtable” and “Create a subtable view”.